How to Build a Knee Support Size Chart That Reduces Fit Complaints and Returns

Why sizing is a commercial problem, not just a technical detail

Fit affects product reviews, support tickets, return costs and repeat purchases. If a sleeve slides, rolls, pinches or bunches, users often describe the problem as poor quality even when the real cause is an unclear chart or incorrect size grading.

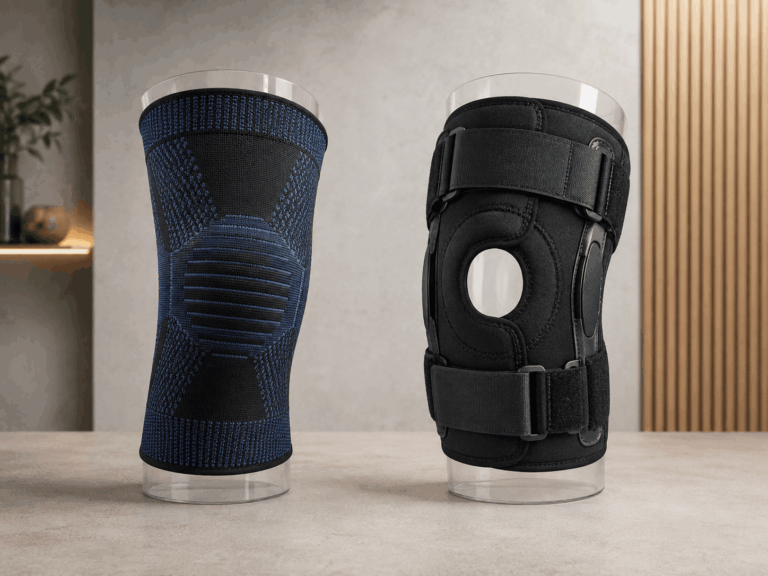
The risk becomes larger when a range includes both elastic sleeves and adjustable braces. A sleeve may depend on precise circumference, while a brace may depend on strap reach and component alignment. Each construction needs its own validated chart.

Choose measurement points that match the product

There is no universal measurement point for every knee support. Depending on the design, a chart may use:

  • Circumference at the center of the kneecap
  • Thigh circumference at a fixed distance above the kneecap
  • Calf circumference at a fixed distance below the kneecap
  • A combination of thigh, knee and calf measurements

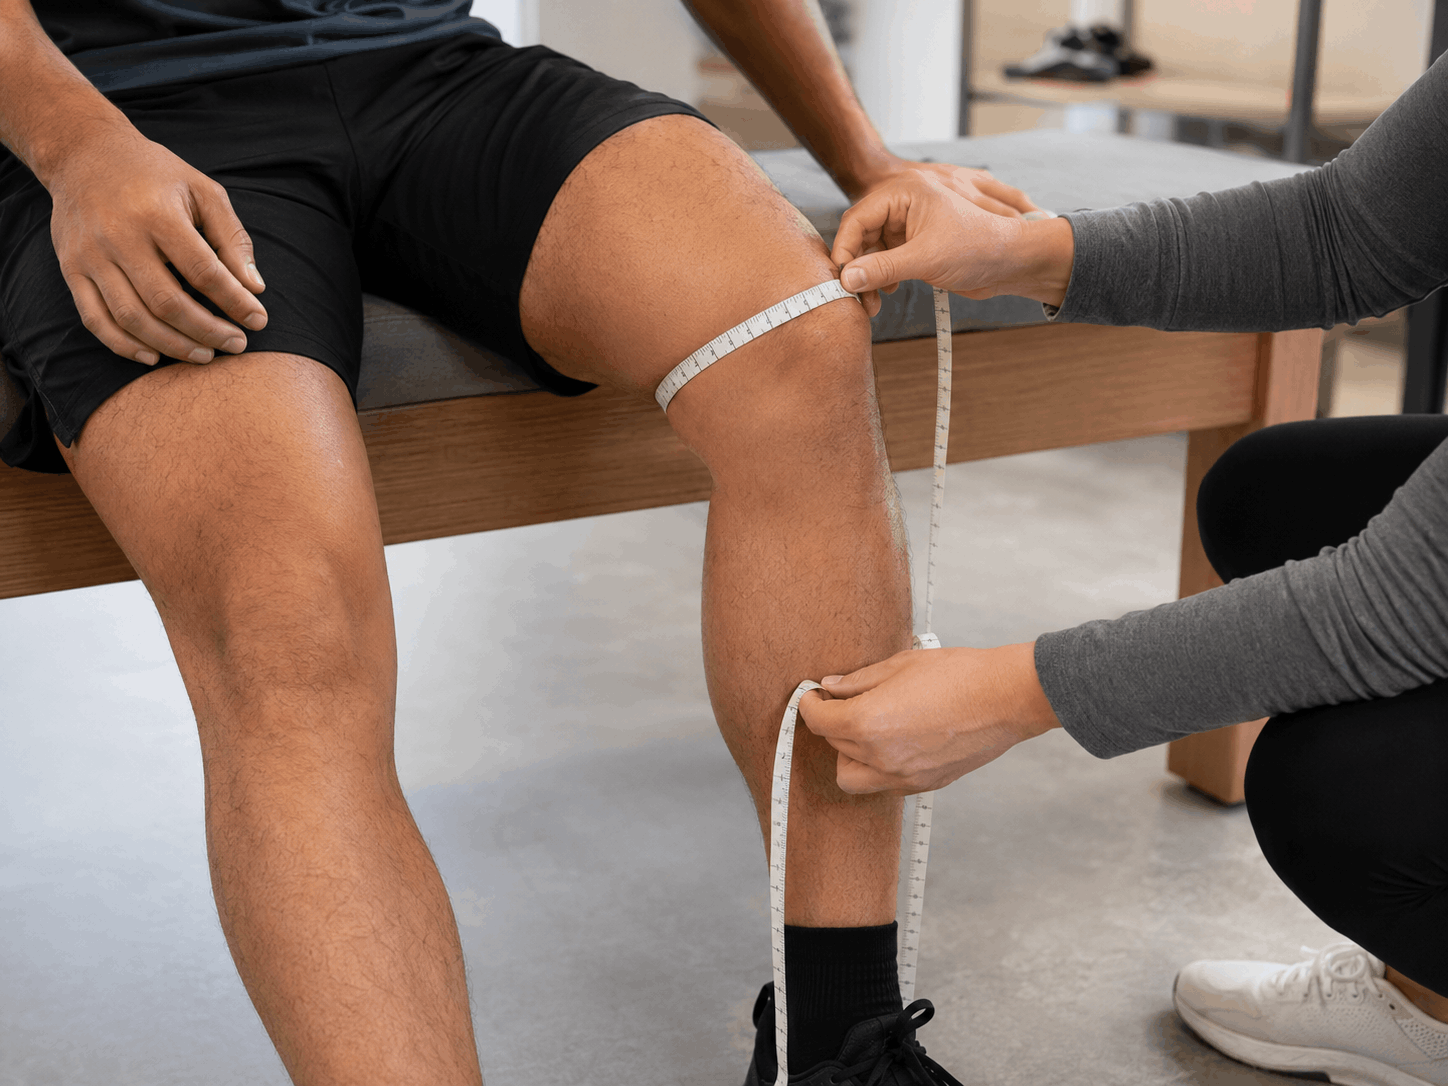
If the chart uses a distance such as 10 cm or 15 cm above the kneecap, state exactly where the user should begin and how the tape should be positioned. The tape should lie flat and snug without compressing the skin.

Avoid instructions such as “measure around the leg” because the same person may choose a different point each time. A simple photograph or diagram should show the kneecap reference and tape location.

Connect body measurements to finished-product measurements

The body chart alone does not control production. The technical specification should also define the finished sleeve:

  • Top opening circumference
  • Bottom opening circumference
  • Total length
  • Patella feature position
  • Width or circumference at key zones
  • Strap length and usable fastener area
  • Allowed tolerance by measurement

These figures should be recorded in a relaxed state using one agreed method. If the factory stretches the sleeve during measurement while the inspection team does not, the same product can produce different results.

Grade sizes from performance, not from equal increments

Adding the same number of centimeters from one size to the next may look orderly, but it does not always create a consistent fit. Material stretch, leg shape, sleeve taper and compression target interact.

A better process is:

  1. Approve the base size on several intended users.
  2. Create preliminary smaller and larger grades.
  3. Test each size on users near the middle and edges of its proposed interval.
  4. Record ease of putting on, cuff pressure, movement, slippage and comfort.
  5. Adjust the finished measurements or body intervals.
  6. Repeat after washing if the product will be washed regularly.

Youth and plus-size models may require more than extending the same pattern. Length, taper and pressure-zone position may need separate adjustment.

Define what customers should do between sizes

Boundary cases are a frequent source of returns. Generic advice such as “size down for more compression” can create excessive pressure, while “size up for comfort” may produce slippage.

The correct guidance should come from wear testing. It may consider the wearer’s thigh and calf measurements, desired fit and product construction. If thigh and calf measurements fall into different sizes, the chart should explain which measurement has priority or recommend a model with a more suitable taper.

For adjustable braces, include the strap range and explain how much overlap is required for secure fastening. A strap that technically reaches the body is not necessarily long enough for stable use.

Use a size-chart format that is easy to scan

Chart element

Recommended approach

Common mistake

Measurement name

Use a specific anatomical point

“Leg circumference” without location

Distance reference

State centimeters or inches from kneecap center

No starting reference

Unit system

Show both cm and in for international pages

Mixing converted and rounded values inconsistently

Size interval

Use non-overlapping or clearly explained ranges

Large unexplained overlaps

Between-size advice

Base it on tested product behavior

Automatic “size down” instruction

Visual guide

Use one clear photo or diagram

Several conflicting illustrations

Place the size chart near the product-selection control, not only in a lower FAQ. On packaging, repeat the same values and wording used online.

Diagnose fit complaints with useful data

Return reasons should be recorded in a structured way. “Too small” alone does not reveal whether the issue was circumference, length, cuff pressure or difficulty pulling the sleeve over the calf.

Useful fields include:

  • Product model and production lot
  • Size ordered
  • User’s measurement and measurement point
  • Where the fit problem occurred
  • Whether the product was tried during movement
  • Whether the sleeve slipped, rolled, pinched or bunched
  • Whether the chart or product was misunderstood

Review this information by model and size. A concentration of complaints near one boundary may indicate the chart needs adjustment. Complaints across an entire size may indicate the finished-product grading or production tolerance needs review.

Keep the chart aligned with production changes

A material or construction change can invalidate the approved chart. Different yarn, foam density, lamination, silicone coverage or seam position may change stretch and fit even when the product dimensions are unchanged.

Treat the size chart as a controlled product document. When materials or patterns change, repeat the relevant wear tests and update the version on the product page, packaging and internal specification at the same time.

Frequently asked questions

Where should a knee sleeve be measured?

Use the measurement point specified for that exact product. It may be around the kneecap or at a defined distance above and below it. The point must be shown clearly and validated against the finished sleeve.

Can one size chart be used for several knee support models?

Only when the constructions, stretch behavior, shape and intended fit have been verified as equivalent. Visually similar models may need different charts.

Should customers size down for stronger compression?

Do not use that advice automatically. It should be supported by wear testing and should never encourage a fit that causes numbness, discoloration, pain or restricted circulation.

How should plus-size knee sleeves be graded?

Test top and bottom circumferences, length, taper and pressure-zone position on intended users. Simply enlarging every dimension by the same percentage may not create a stable or comfortable fit.

What information should appear beside a size chart?

Show the measurement point, tape position, unit, body-measurement range, between-size guidance and whether the product is sold as a single sleeve or a pair.

Next step

Review your current chart against the product sample. Confirm the measurement point, finished measurements, tolerances, boundary guidance and fit-test results for every size. If a new size range is needed, include it in the brief sent through the custom knee support page or request a specification review through the contact page.

Table of Contents

Related Articles

Contact Us Today — Get a Reply Within 12 Hours

Factory-direct · NDA friendly · Sample support · OEKO-TEX/BSCI (on request)

Your information will be kept strictly confidential.